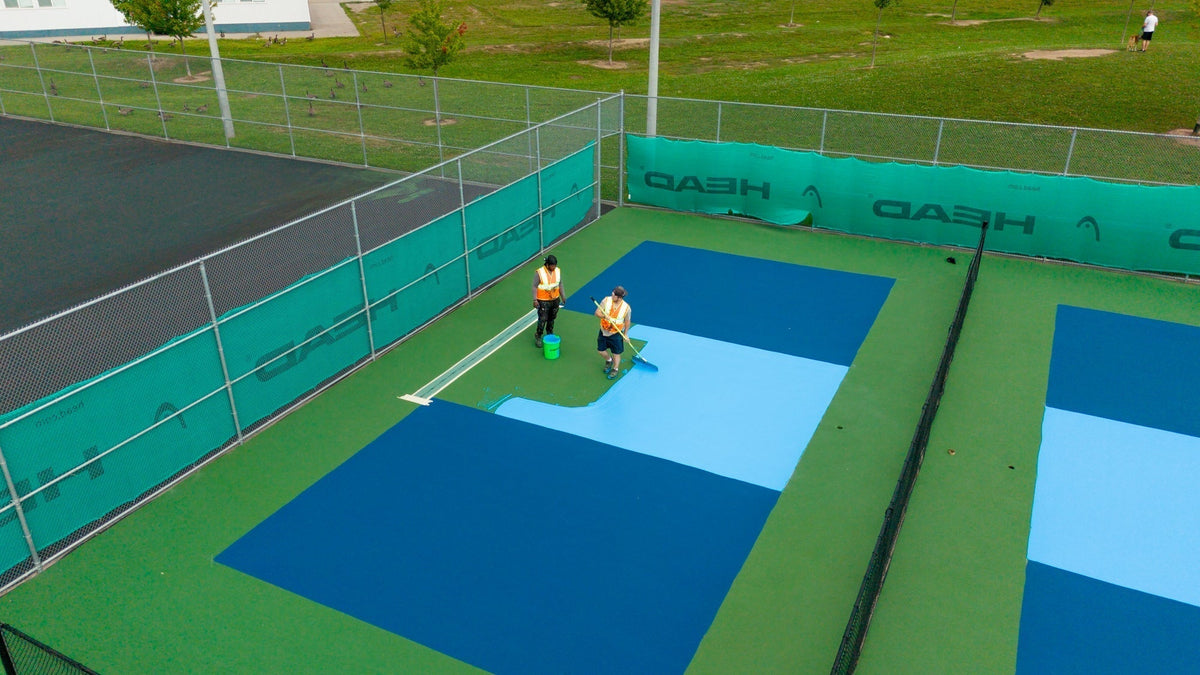
Painting your own tennis or pickleball court? Color coats are the finishing layer that gives a court its final look and playing texture, and getting the prep, mixing, and technique right is what separates a clean, consistent finish from a patchy one.
Here's a full breakdown of what you'll need and how to apply it, paired with our video walkthrough: Watch the full tutorial on YouTube.

What You'll Need
Materials:
-
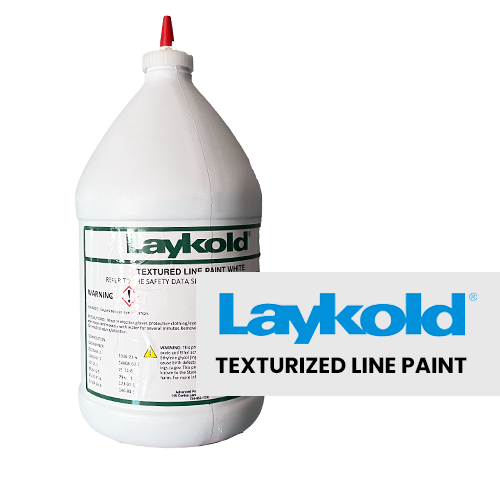
Color Coat (available as concentrate or factory-textured)
-
Silica sand (only needed if using concentrate)
-
Clean, potable water
Tools:
-
Mixing drill and buckets
-
Clean, empty drums
-
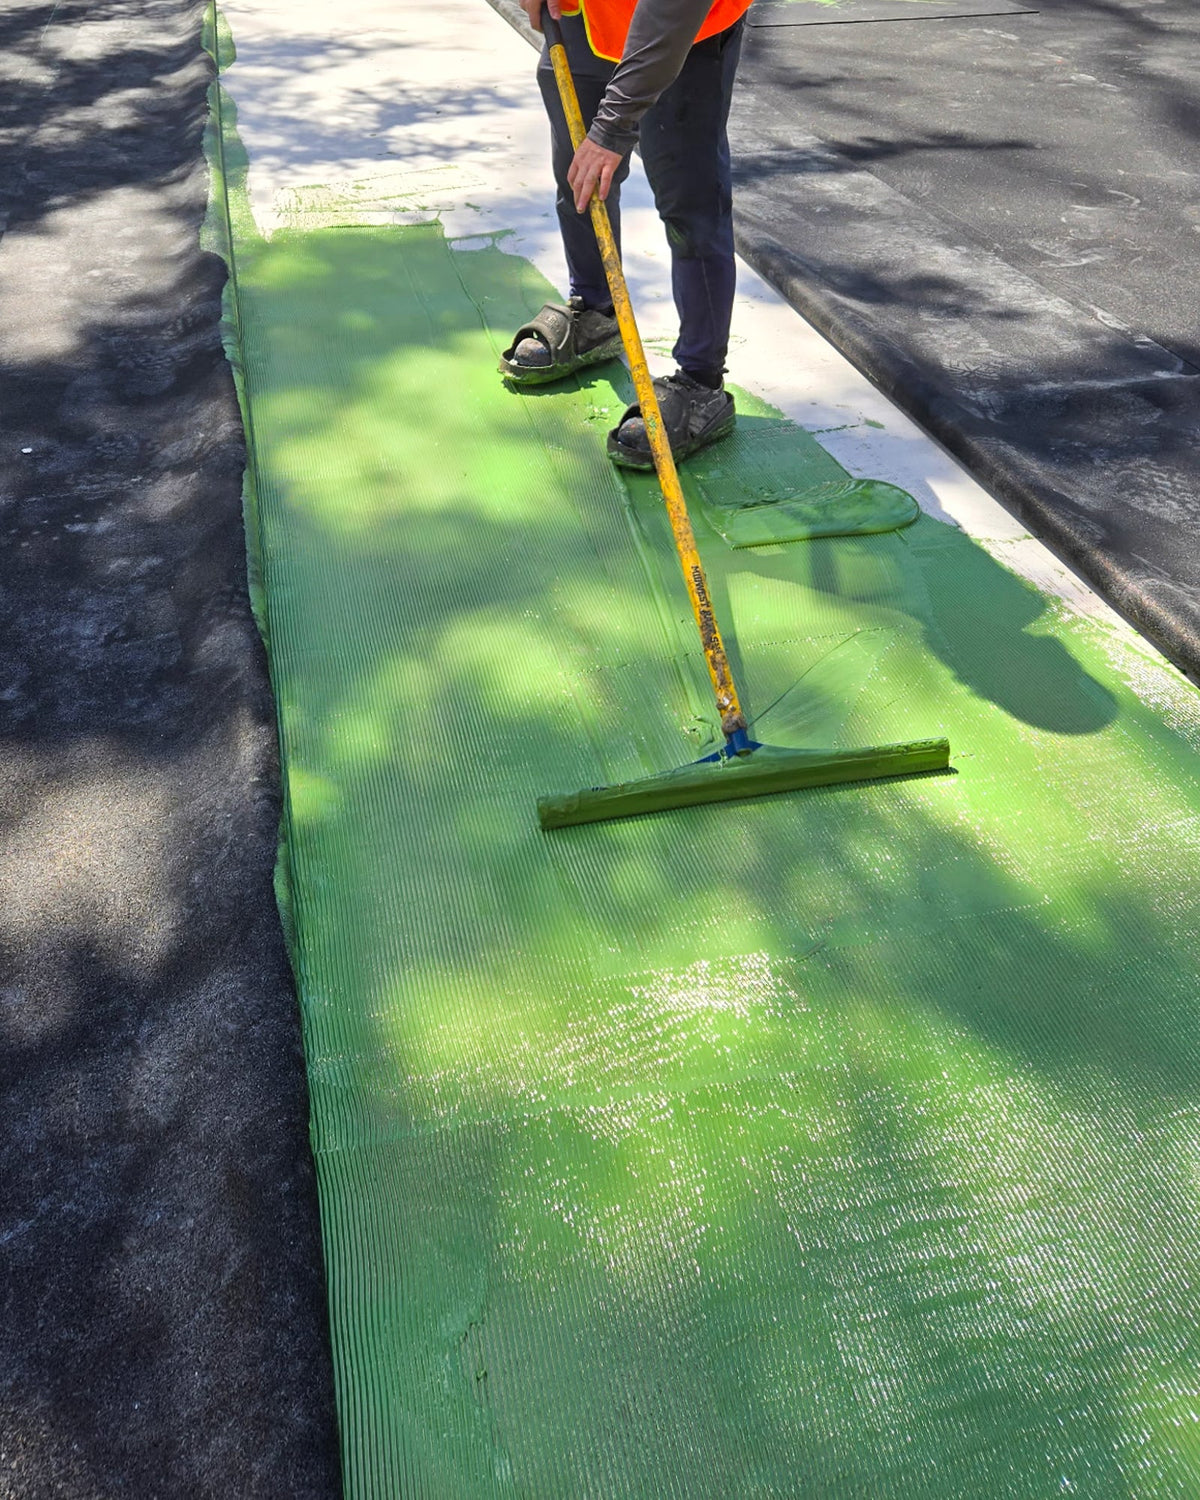
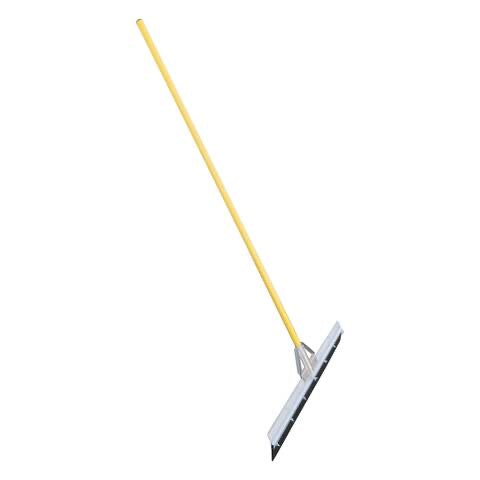
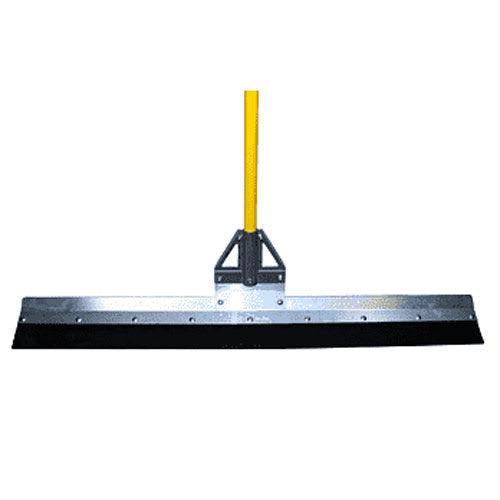
Rubber squeegee
-
Wheelbarrow
-
Flat shovel
-
Masking tape
-
Chalk line
-
Scissors or utility knife
-
Protective sheeting (poly sheeting or builder board)
Mixing Acrylic Color Coats
Acrylic color coats are available as a concentrate, which requires adding silica sand and water, or factory-textured, which only requires water. Which one makes sense for your project depends on project size and how easily you can access the manufacturer's recommended silica sand, since each option has its own benefits.
Both concentrated and factory-textured color coats may need to be divided into clean, empty drums or buckets to give yourself enough room for mixing and adding water and/or silica sand.
Always add water and silica sand according to the manufacturer's specified mix ratio.

Mixing Tips & Best Practices
-
Two coats are always recommended. The first coat lets you complete any final prep work and confirm material quantities for the second and final coat.
-
Keep track of how much material you use for the first coat, and make sure you have at least that same amount prepared and mixed for the second coat before starting.
-
Color match all material before application. Take a portion of material from each drum or bucket and thoroughly mix it together, repeating as necessary to help minimize variations in color.
-
When coating multiple courts, keep material consistent. Try to ensure each court receives material from the same drum or mixed batch whenever possible, to help prevent variations in color from court to court.

Preparing Your Court for Color
A little prep work before you start painting makes a big difference in the final result:
-
Create a buffer for your game lines. Since game lines are typically 2 inches wide, many contractors reduce the regulation game line measurements by 1 inch on each side. This provides a buffer when applying the color coats.
-
Use a snap chalk line to create a clear visual guide for where the color coat should be applied.
-
Apply masking tape around the perimeter for additional protection and to help maintain clean edges during application.
-
Install poly sheeting or builder board at your finishing point. This creates a designated area to pull excess material onto at the end of your pass, helping you finish cleanly without leaving excess material on the court.

Application Tips & Techniques
-
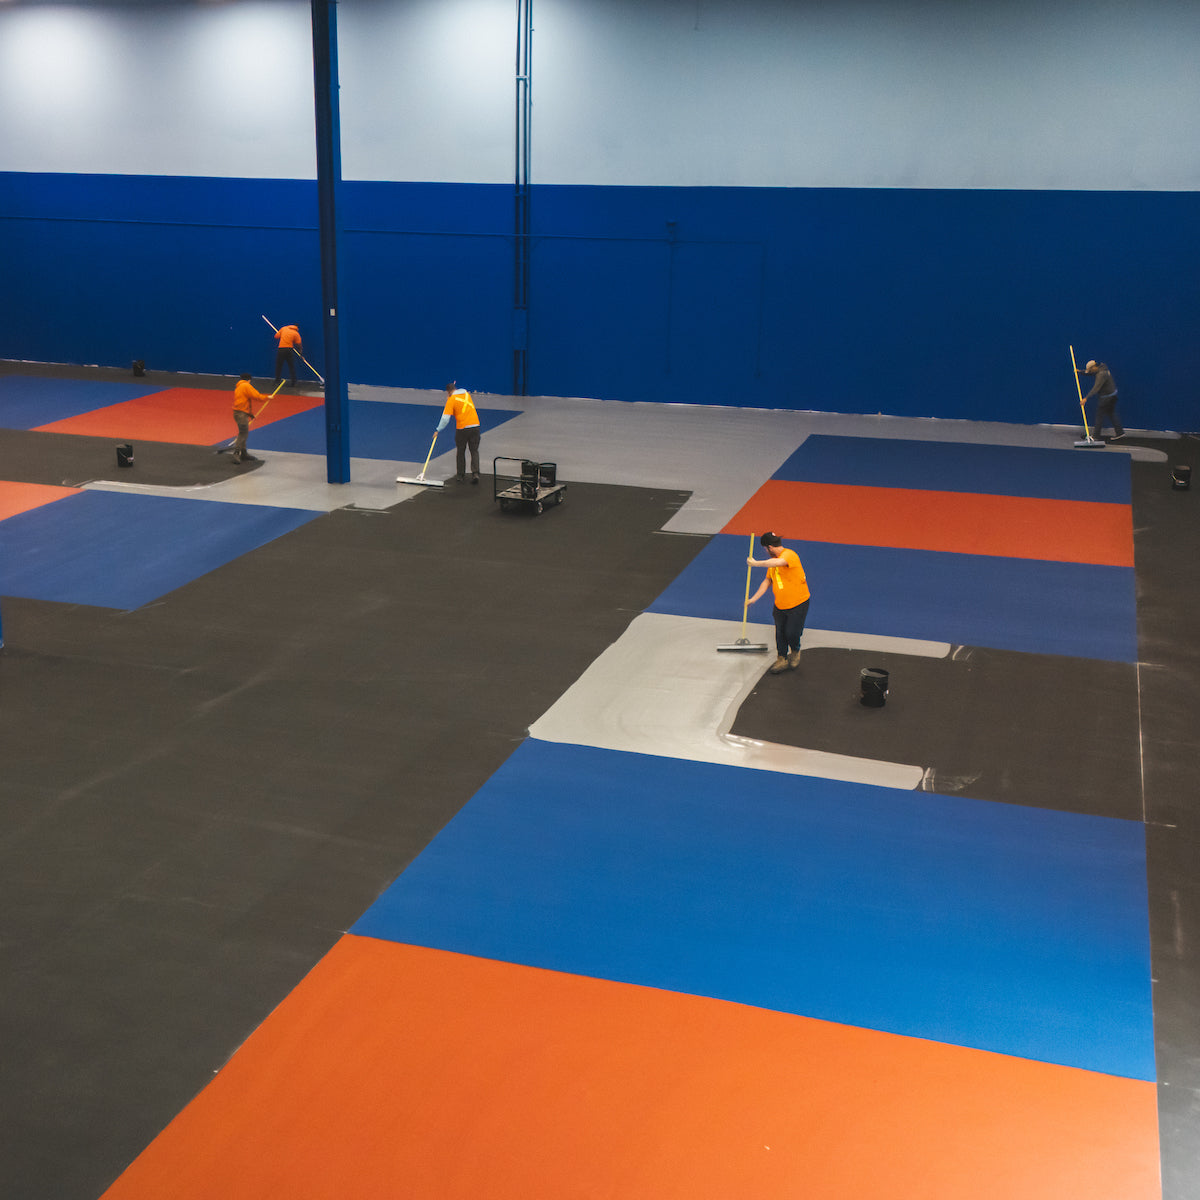
Paint your first coat like it's your final coat. The key is to be as consistent as possible with every pass from start to finish.
-
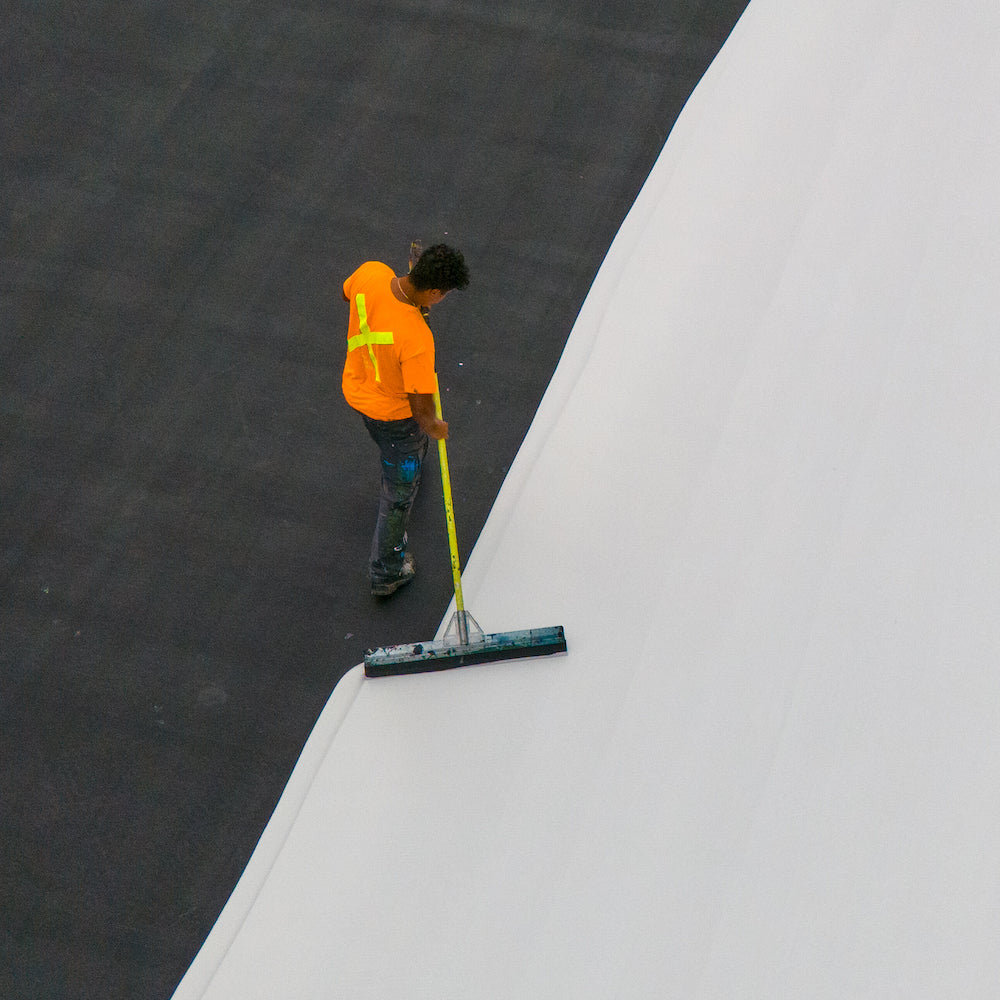
Maintain a continuous puddle of color coat below the squeegee as you work your way down the court, adding material as needed to keep the puddle consistent.
-
Maintain consistent pressure and squeegee angle throughout each pass. Think about pulling the material down the court rather than moving it from side to side.
-
Don't try to pull too much material at once. Slightly overlap your previous pass, find your rhythm, and keep moving.
-
Watch for small rocks, debris, or other impurities in the material. If anything becomes caught under the squeegee or begins leaving drag marks, remove and discard it before continuing.
-
As you approach the final quarter of the court, smaller pours may be all you need as you prepare to change direction and close out the final area.
Closing Out the Final Area
-
Maintain the same consistent passes all the way to the end. Avoid changing your technique as you approach the final area of the court.
-
Continue pulling the color coat onto the protective sheeting with a complete pass from end to end. This helps create a clean, consistent finish throughout.
-
Pull excess material onto the protective sheeting so it can be removed without leaving buildup, puddles, or heavy marks on the finished surface.
-
Carefully remove the protective sheeting once complete to leave a clean transition at the end of the coated area.

Final Thoughts
Painting acrylic color coats comes down to consistency, in your mix, your passes, and your technique from the first coat to the last. Preparing your court properly, tracking your material carefully, and maintaining a steady squeegee technique throughout are what turn a paint job into a professional-looking, playable finish.
For the full step-by-step demonstration, watch our video walkthrough: How to Paint Acrylic Color Coats.
DIY Court USA supplies Laykold Colorcoat, Acrylic Resurfacer, and Base Prep systems, along with the tools and resources to help homeowners, contractors, schools, parks, and recreation facilities apply a professional-quality court surface themselves.
Frequently Asked Questions
How many coats of acrylic color coat do I need? Two coats are always recommended. The first coat lets you finish any last prep work and confirm how much material you'll need for the second and final coat.
Why should I create a buffer for game lines before applying color? Since game lines are typically 2 inches wide, reducing the regulation measurements by 1 inch on each side gives you a buffer, helping keep the color coat application clean around where the lines will eventually be painted.
What's the difference between concentrate and factory-textured color coat? Concentrate requires you to add both silica sand and water yourself, while factory-textured only requires water. The right choice often comes down to project size and access to the manufacturer's recommended silica sand.




Share:
Sport Tiles 101: What They Are and Why They're Taking Over
How to Get a Clean Finish When Painting a Court